|
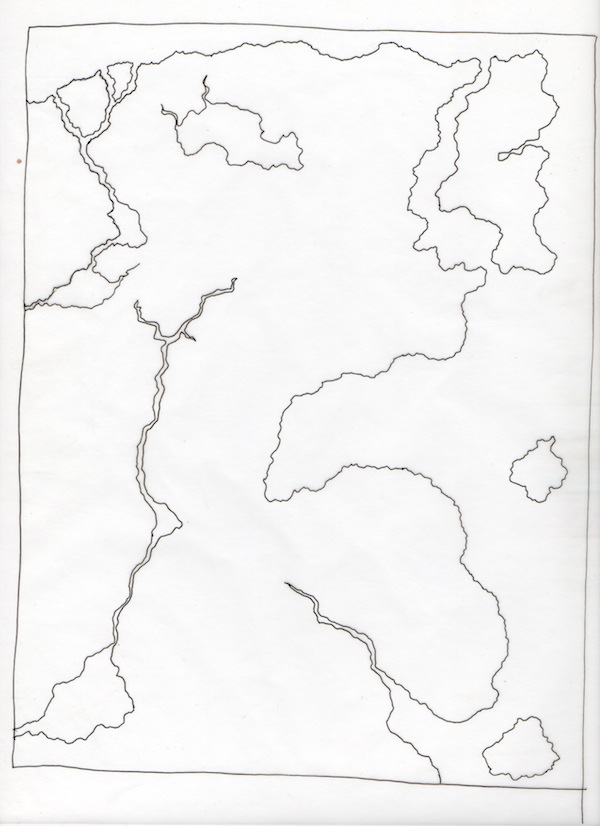
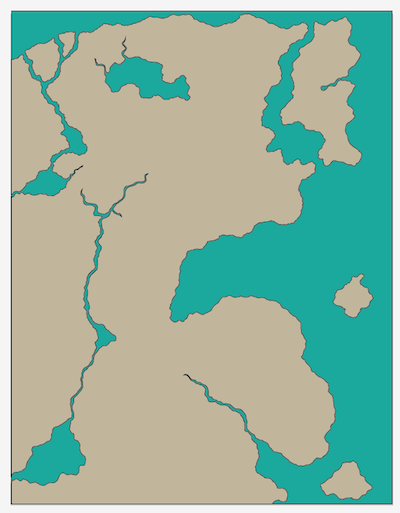
Map Tutorial Scanning / Illustrator Obviously, this is a much easier process if what you've drawn fits neatly on your scanner bed. If it doesn't, that's not the end of the world, you can scan it in parts and match them up later in Illustrator. Also, I'd just like to recommend that you keep all your files (hardcopy and scans) as you're working. You never know when you might need to go back to an original and at least until your map is finished, best to hold onto the work you've already put time into than having to do something tedious again. With your scanned image ready to go, open a new document in illustrator. Make sure you select print quality settings if you do intend on printing the final version of this map.  Place the image in your document (File > Place > yourfile.jpg) And when it's placed click the arrow to the left of the Live Trace button.  At the bottom of the menu this brings up you'll see an option called Tracing Options. Clicking that produces a dialogue like this one:  *(Tracing Options might give you a warning about speed and the size of your image first. If you think your computer can handle it, ignore that warning. If you're working with a slower computer you might want to scale down the image on your document before you proceed to tracing, a smaller image will both take less time to Live Trace and be less likely to risk crashing Illustrator.) You don't have to change the rest of these dialogue settings if you'd rather not, but I recommending the settings in the screenshot above. What you must do here is make sure that Ignore White box is checked off and if you want to trace the land areas as fillable objects and not just outlines, remove the Fills check box and select the Strokes box only. If you do want to tinker with this you can play with things like the threshold and see just how faint or how bold you'd like these lines to render. With these map lines traced in place you can save this file as an .ai so we can open it later and keep adding on to it. The tracing result should produce one big image in a rectangular frame, but we want each area to be directly editable so make sure to click expand before you continue on.  Now these lines are all vector shapes. They can be scaled up or down ad infinitum to fit whatever size document you need it to be, as well as managed like any other vector objects with the pen tools. The first thing I did was Ungroup everything (Object > Ungroup) This disconnects all the parts to be edited on their own like this:  From here you'll also be able to add a fill color to a closed path. Like this: 
 And adding a full page fill on a new Layer beneath this one, will fill in the water areas if you like.  If you've feel like you've got the gist of how this works and just want to see my vector illustration, here you are. At this point, I've scanned, placed and Live Traced every separate redrawn piece of odinist's map; the mountains, the forests the landmarks, etc, and once they were vector shapes I scaled them and nudged them into place where they fit so that the end result of all my drawing looked something like this: click for full size Each piece is on a different layer and grouped together accordingly. Here you can see all my individual layers and the corresponding regions by color code. click for full size Back to the mountains and other details? |